
Enrol a student
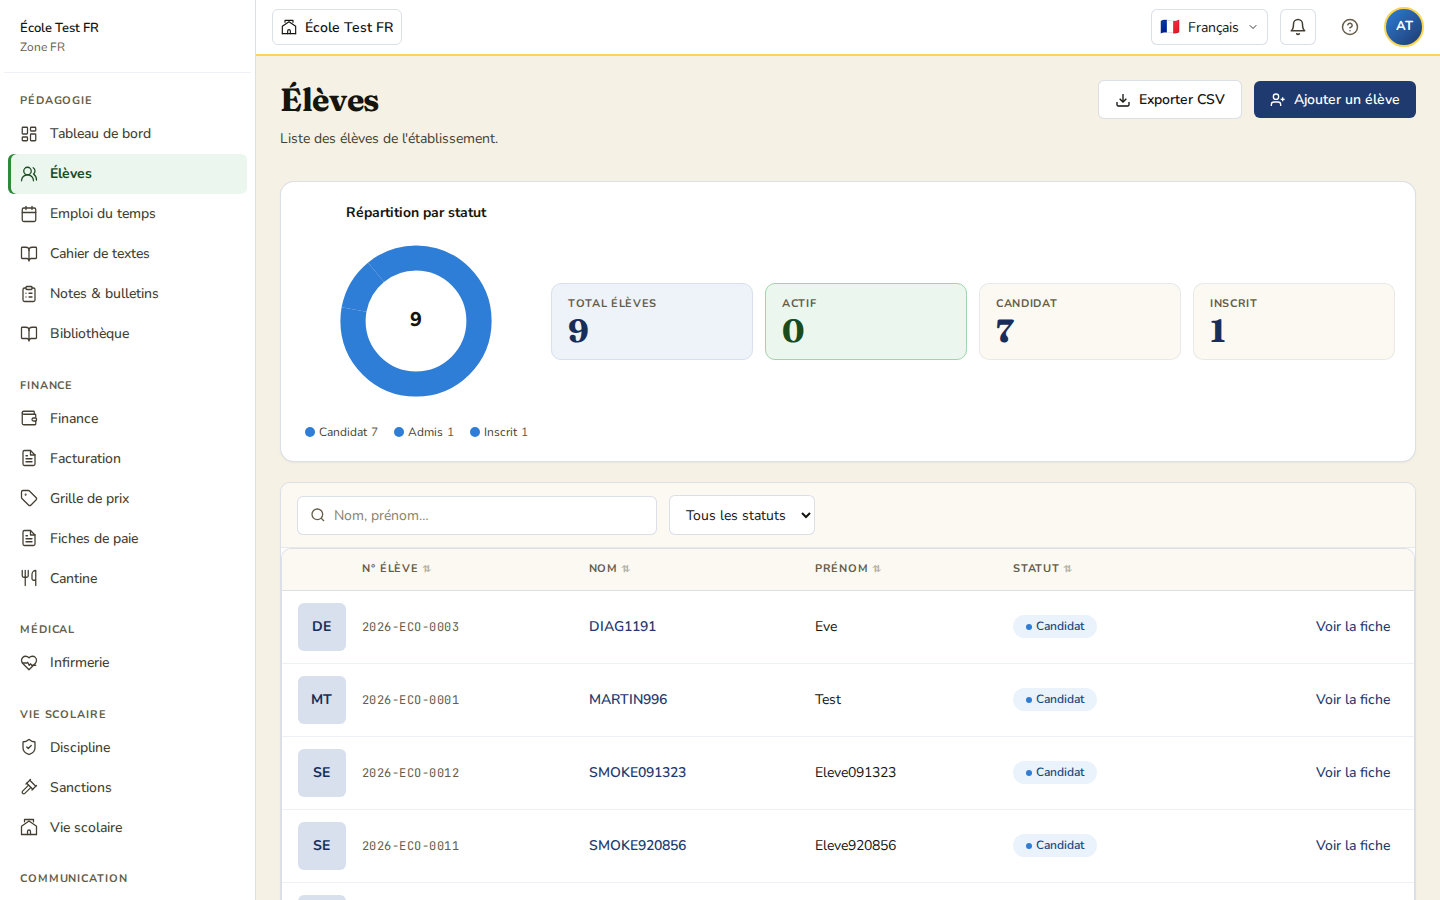
A guide to creating a new student’s record using the 4-step enrolment wizard.
Prerequisites
- Role: School administrator or Director
- The academic levels for the current year must be available
The enrolment wizard
From the Students menu, click Add a student to open the wizard. It has 4 steps:
- Student — information about the student.
- Guardian — legal guardian(s).
- Enrolment — academic year and level.
- Summary — review before the record is created.
Step 1 — Student
Required fields:
| Field | Required |
|---|---|
| Last name | Yes |
| First name(s) | Yes |
| Date of birth | Yes |
| Gender | Yes |
| Nationality | Yes |
| Country of residence | Yes |
There is no class field at this step: the academic level is chosen at the Enrolment step.
Step 2 — Guardian
Click + Add a guardian to create a legal guardian, or link an existing one. You can add up to 3 guardians. This step can be skipped and completed later from the student’s record.
Step 3 — Enrolment
Select the academic year and the academic level. Additional notes can be added to the record.
Step 4 — Summary
Review all the information entered, then confirm to create the record.
Initial status
When created, the student’s record has the status Candidate. Moving to the following statuses (Admitted, Enrolled, Active…) is then done from the student’s record.
Bulk import
Students -> Import -> CSV file to enrol several students at once.